


DIY Small Room Home Theatre Setup Guide & Checklist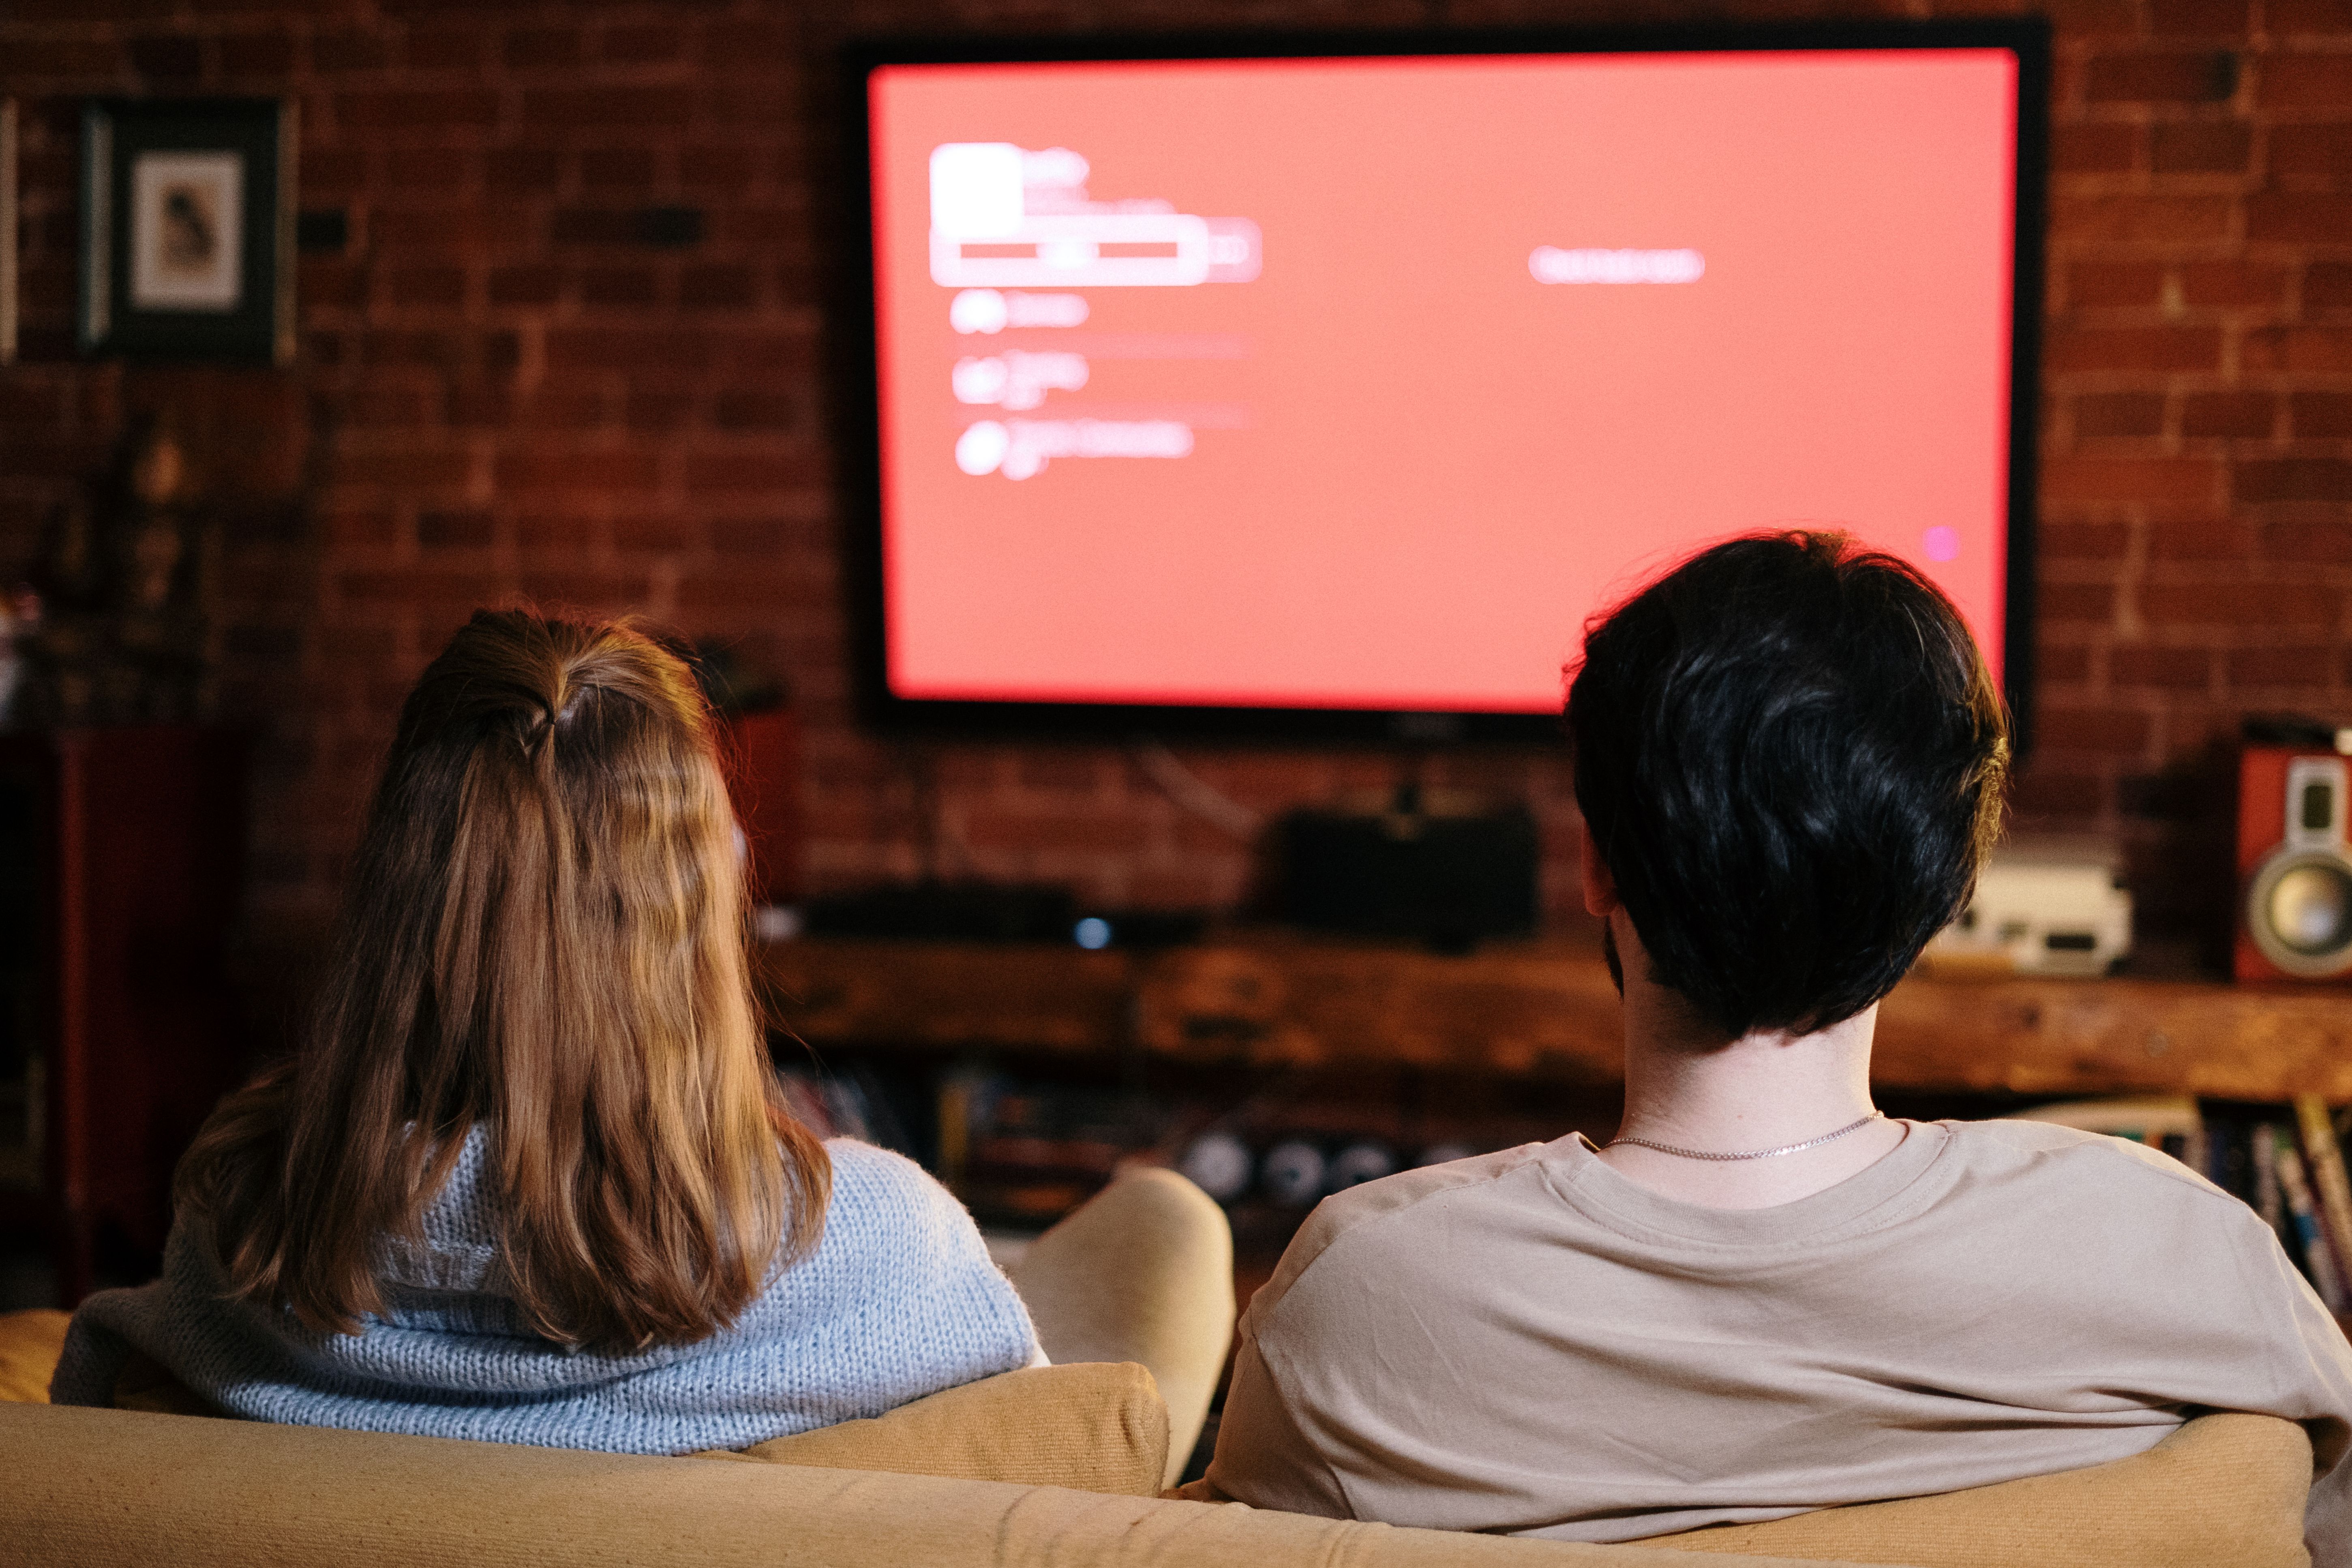
You do not need a dedicated wing of the house to enjoy proper cinema at home. A spare bedroom, a loft corner or even a generous alcove can become a genuinely immersive home theatre, and a smaller room brings some real advantages: less space to fill with sound, shorter cable runs and a naturally cosy atmosphere that big rooms struggle to match. This guide walks through the whole setup step by step, from planning and screen choice to sound, lighting and acoustic treatment, and finishes with a checklist you can work through as you build. The Small Room Theatre AdvantageSmall rooms are cheaper to equip and easier to get right. A modest speaker set fills the space without strain, a mid-range projector or television looks enormous at close range, and acoustic treatment covers a far greater proportion of the surfaces for the same money. The common problems of small rooms, boomy bass and harsh echo, are exactly the problems that foam treatment solves well, which is why compact theatres often end up sounding better than large untreated ones. How to Set Up a Home Theatre in a Small Room: A Step-by-Step DIY GuideStep 1: Planning Your SpaceAssess the room first: note the wall the screen will face, where daylight enters, where sockets sit and how the door swings. Rectangular rooms work best with the screen on a short wall. Set a budget across four pots, screen, sound, seating and treatment, rather than spending everything on one; a balanced room beats one expensive component every time. Step 2: Screen Selection & PlacementTV or projector? In a small room a large television is simpler and handles ambient light better, while a projector gives a bigger picture for less money if you can control the light. Size against viewing distance: a comfortable rule is a screen diagonal of roughly a third to half of your viewing distance, so at 2.5 metres a 55" to 65" television, or a modest projected image, fills the view without neck strain. Step 3: Sound System SetupSpeakers: a soundbar with a subwoofer is the simplest upgrade, while a 5.1 speaker package remains the small-room sweet spot; full surround setups fit but need careful placement. Receiver: match channel count to your speakers and leave an input spare. Placement: front speakers at ear height flanking the screen, surrounds just above ear height beside or slightly behind the seats, subwoofer along the front wall, then nudged along until the bass evens out. Cabling: run cables before furniture goes in, and label both ends. Step 4: Lighting & AmbianceControl the daylight with blackout blinds or lined curtains, which also help the acoustics. Bias lighting, a soft LED strip behind the screen, reduces eye strain and makes the picture appear punchier in a dark room. Dimming or smart bulbs let you fade the room down from the sofa rather than plunging it to black at the switch. Step 5: Acoustic TreatmentSmall room acoustics are dominated by early reflections: sound bounces off nearby walls and the ceiling fractions of a second after the direct sound, smearing dialogue and hardening the tone. The DIY solution is straightforward: place acoustic foam tiles or panels at the first reflection points, the side walls level with the speakers, the wall behind them and ideally the ceiling above the seating, and add thicker foam or bass-heavy furnishings such as a full bookcase in the corners where low frequencies gather. A rug on a hard floor completes the job. Treating even a third of the surfaces this way transforms clarity; our guide to soundproofing a kitchen shows the same principles applied elsewhere in the home. Step 6: Seating & ComfortAngles: your eyes should land at the screen's centre or slightly above it, with no seat wider than about 30 degrees off-axis. Recliners or sofa? Recliners feel most cinematic; a deep sofa seats more people in the same footprint. Either way, comfort is worth investing in, and tired seating can be revived with replacement foam cushions cut to size rather than replaced outright. Your Ultimate Small Room Home Theatre DIY Checklist
Things to Consider When Designing Your Home TheatreVentilation matters in a sealed, darkened room, so allow airflow around electronics. Keep neighbours in mind: acoustic foam improves the sound inside the room but is not soundproofing, so late-night volume still travels through walls. And think about the room's other duties; foam tiles in a considered colour and layout can look deliberate and stylish in a room that doubles as an office or guest room. Pro Home Theatre Setup Ideas & TipsSit slightly forward of the room's midpoint, where bass is smoother. Treat the ceiling if you can only treat one extra surface. Use dark, matt colours around the screen to stop reflections washing out the picture. And test your layout with a familiar film soundtrack before fixing anything permanently, since ten minutes of listening reveals more than any diagram. Small room home theatre FAQsHow much acoustic foam does a small home theatre need?Covering roughly 20% to 40% of the wall area, concentrated at the reflection points and corners, gives a clear improvement in most small rooms. Complete coverage is unnecessary and can leave a room sounding unnaturally dead. Will acoustic foam stop sound disturbing the rest of the house?Not by itself. Foam controls echo and clarity inside the room; blocking sound from travelling through walls needs mass and sealing, such as heavy doors, sealed gaps and insulated stud walls. Most home setups combine foam for quality with sensible volume for peace. What is the best cheap acoustic treatment to start with?A rug, lined curtains and a set of foam tiles at the side-wall reflection points deliver the biggest change per pound spent. Corners come next, using thicker foam pieces where walls meet. Can I cut acoustic foam to fit awkward spaces?Yes. Foam cuts cleanly with a sharp blade, and for sloped ceilings, alcoves or precise patterns we can supply acoustic foam cut to your measurements, which gives a neater finish than trimming by hand. |